Quickstart: generate an image with the API
In about 5 minutes you will create an API key, find the design_id of one of your designs, make one API call and save the image it returns. You start with a new free account and finish with an image file on your machine.
You need: a free OKZest account with at least one design. New accounts come with a Sample Design, so you can start there, or see Quickstart: email image or Quickstart: social image to make your own. You also need curl, Node.js 18 or later, or Python 3.
The API address is https://api.okzest.com, and every path starts with /v1.
1. Create an API key
-
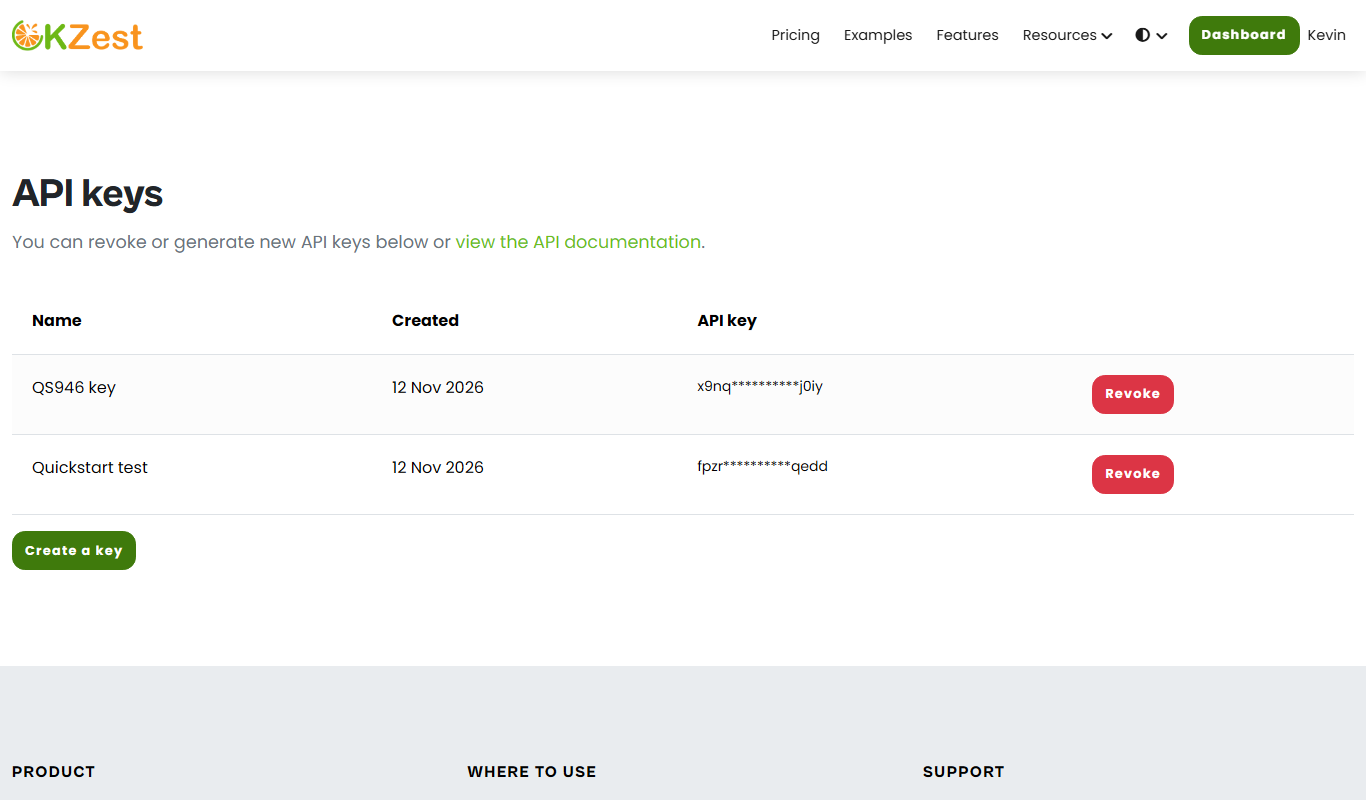
Log in and open API keys.
-
Select Create a key. This opens a full page, Create a new API key, not a pop-up. Type a name in API key name and select Generate key.
-
The Copy new API key page shows your key. Copy it straight away. It is shown only once. Keep it private, like a password. Select Done when you have copied it.
-
Store it in an environment variable so it stays out of your code:
export OKZEST_APIKEY="paste-your-key-here" -
Check that it works:
curl https://api.okzest.com/v1/whoami -H "x-api-key: $OKZEST_APIKEY"A good key returns status
200and a small JSON object with your company id and the key name:{"company_id":"YOUR_COMPANY_ID","key_name":"Quickstart test"}
The key goes in a header called x-api-key. The usual Authorization: Bearer ... header does not work and returns 401.
2. Find your design_id
Every design has a design_id. You can find it in either of these ways.
From the API. List your designs:
curl "https://api.okzest.com/v1/images?pageSize=3&pageNumber=1" -H "x-api-key: $OKZEST_APIKEY"
The response is a JSON array. Each item has the design_id and the design's name. For example (trimmed):
[{"design_id":"yGguOj0cuEilNjtoAUZdYA","name":"Review test header","optional_url_params":[{"id":"first_name","merge_tag":""}]}]
The path says images even though it lists designs. That is expected.
From the browser address bar. Open the design in the editor or on its Share page. The address contains id= followed by the design_id, for example https://okzest.com/dashboard/share?id=YOUR_DESIGN_ID. The i= value in the image link is the same id.
Now find the layers you can change. Use optional_url_params[].id from the list above, or ask for the design's fields:
curl "https://api.okzest.com/v1/images/YOUR_DESIGN_ID/fields" -H "x-api-key: $OKZEST_APIKEY"
In the example, the layer ID is first_name. (The Sample Design has two layers, name and image.) You will use it as the layer_id in the next step. Take both the design_id and the layer ID from your own design, because examples elsewhere in the docs use placeholder values. Use only letters, numbers and underscores in a layer ID, for example first_name or headline. The ID input also accepts hyphens and spaces, but they are awkward in URL parameters.
3. Make the image call
Send a POST to /v1/images with the design_id and the text for each layer you want to change:
curl -X POST https://api.okzest.com/v1/images \
  -H "x-api-key: $OKZEST_APIKEY" \
  -H "Content-Type: application/json" \
  -d '{"design_id":"YOUR_DESIGN_ID","layers":[{"layer_id":"first_name","text":"Sam"}]}' \
  -o image.jpg
A successful call returns status 200 and the image itself, not JSON. By default it is a JPEG. Add "format":"png" to the request body to get a PNG instead, and use a matching file name.
The -o image.jpg part tells curl to save the response to a file.
If the layer_id does not match a layer in your design, the call still returns 200 and a normal image, with no error and no personalisation. If your image shows the default text, check that the layer_id matches the layer ID in your design exactly, using the fields list from step 2.
4. Save the image
The curl command above already saved image.jpg. Open it to see your personalised image. If you prefer code, here are two other ways to do the same thing.
JavaScript (Node.js 18 or later):
import { writeFile } from 'node:fs/promises';

const res = await fetch('https://api.okzest.com/v1/images', {
  method: 'POST',
  headers: { 'Content-Type': 'application/json', 'x-api-key': process.env.OKZEST_APIKEY },
  body: JSON.stringify({
    design_id: 'YOUR_DESIGN_ID',
    layers: [{ layer_id: 'first_name', text: 'Sam' }]
  })
});
if (!res.ok) throw new Error(`${res.status} ${await res.text()}`);
await writeFile('image.jpg', Buffer.from(await res.arrayBuffer()));
Python 3 (standard library only):
import os, json, urllib.request

req = urllib.request.Request(
    'https://api.okzest.com/v1/images',
    data=json.dumps({
        'design_id': 'YOUR_DESIGN_ID',
        'layers': [{'layer_id': 'first_name', 'text': 'Sam'}],
    }).encode(),
    headers={
        'Content-Type': 'application/json',
        'User-Agent': 'my-app/1.0',
        'x-api-key': os.environ['OKZEST_APIKEY'],
    },
)
with urllib.request.urlopen(req) as r:
    open('image.jpg', 'wb').write(r.read())
Python's default urllib User-Agent is blocked and returns 403. Always set your own, as in the example.
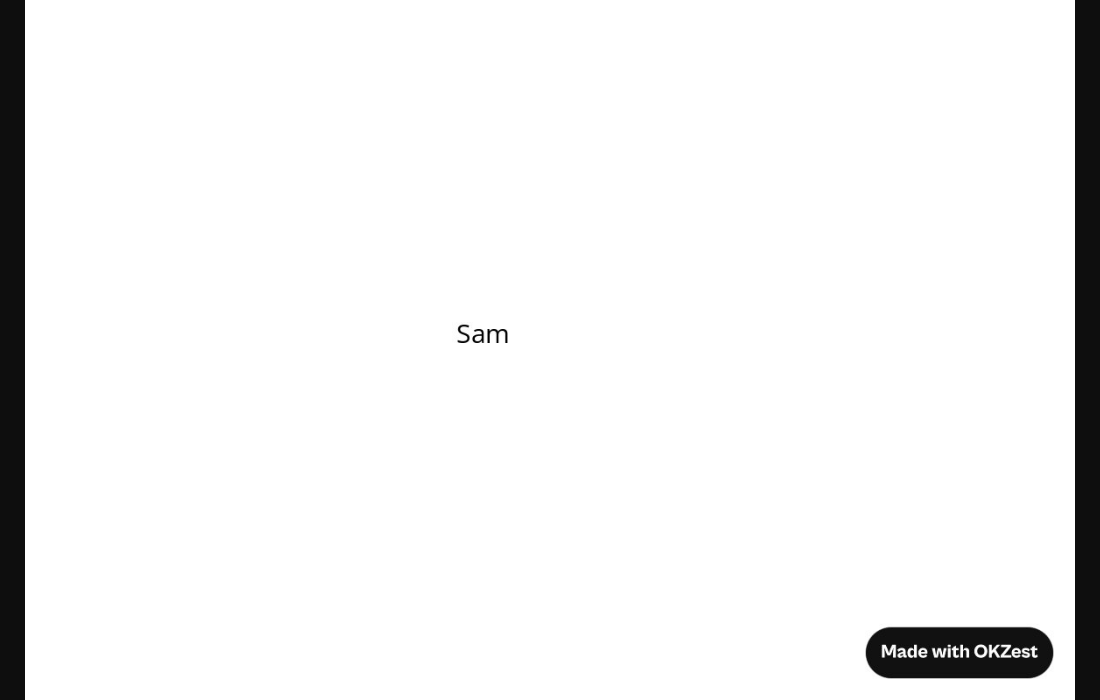
You now have a working image from the API.
If something goes wrong
| What you see | Likely cause |
|---|---|
401 | The key is wrong or missing, or you used Authorization: Bearer instead of x-api-key |
400 with Design not found. | The design_id is wrong |
400 saying design_id is missing | The request body has no design_id |
415 | The Content-Type: application/json header is missing |
403 from Python | No custom User-Agent (see above) |
200, but the image has no personalisation | The layer_id does not match a layer in your design. A wrong layer ID is ignored without an error, so check the spelling against the fields list |
What next
- API introduction and the API reference: every endpoint, parameter and response.
- Merge tags: how layer IDs and merge tags relate.
- Usage, plans and limits are on the plans and pricing page.