Quickstart: a personalised image for your email
In about 5 minutes you will make an image that shows each recipient's own details, such as their first name, and add it to an email. You start with a new free account and finish with a test email that shows a personalised image.
You need: a free OKZest account (see Register for an account) and an account with an email platform (ESP), such as Mailchimp, Klaviyo or Instantly.
1. Create a design
- Log in and open your dashboard.
- On a new account, select Create my first design. The editor opens.
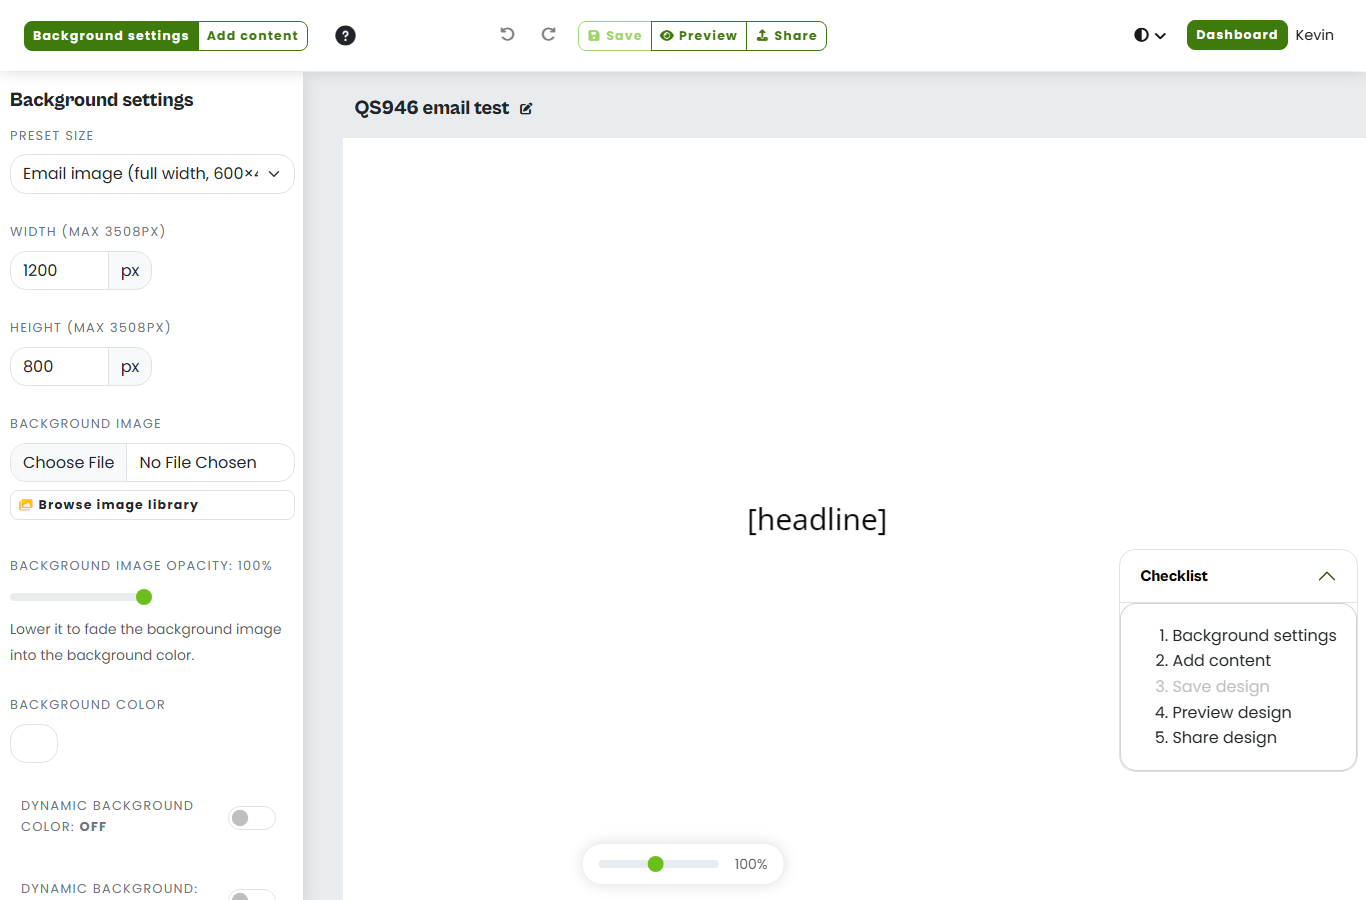
- Select Background settings. Under Preset size, choose Email hero image (600×300 @2x), or another email preset that fits your layout.
- Set a Background color, or add a Background image.
2. Add a merge tag
A merge tag is a placeholder for a personal detail. Your email platform swaps it for each person's real details when it sends. See Merge tags for more.
-
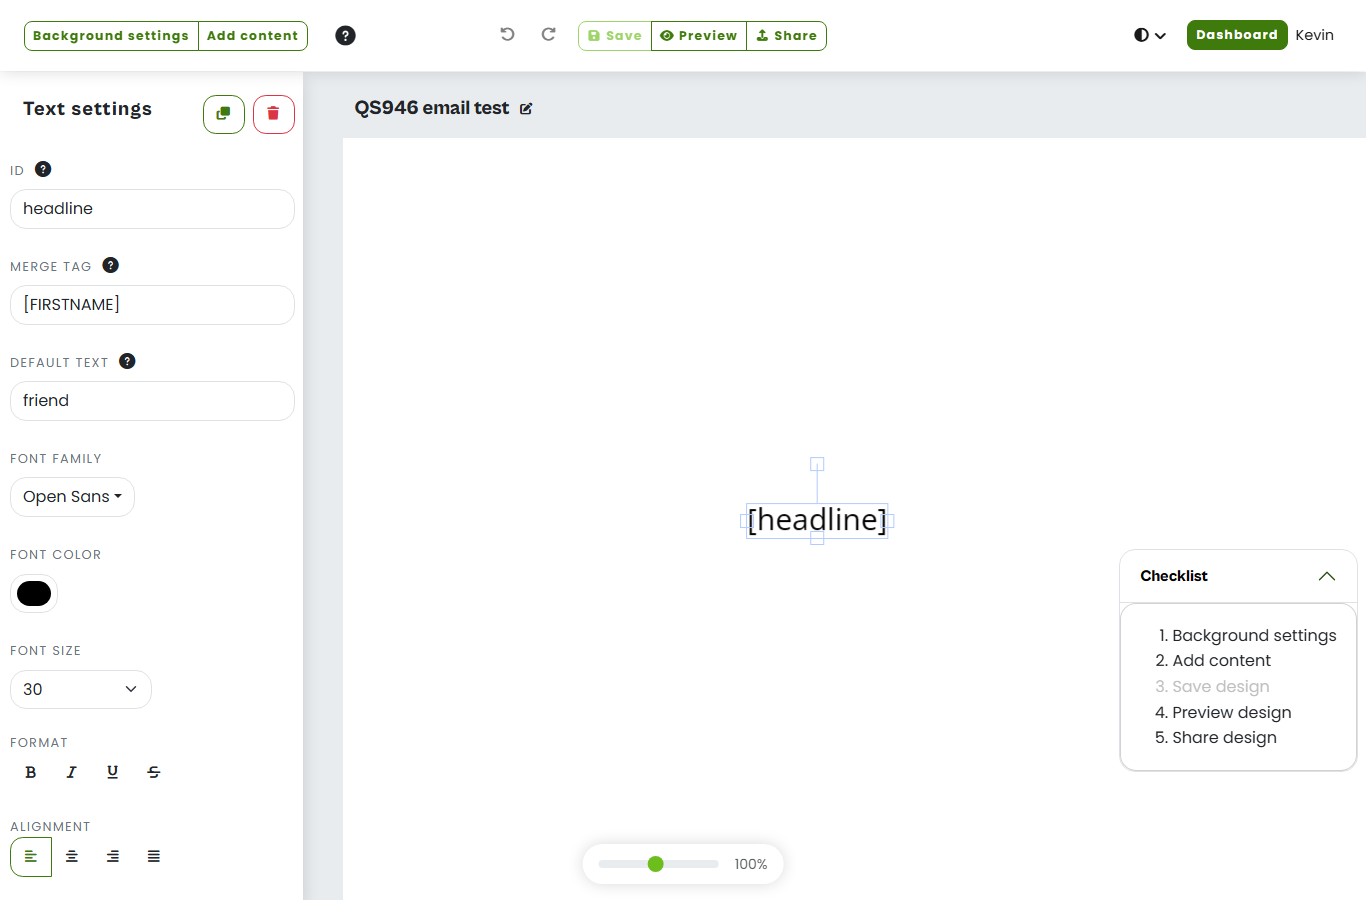
Select Add content, then Dynamic text. A Text settings panel opens.
-
In Text settings, fill in:
Setting What to enter Example ID A short name for the layer. It becomes the parameter name in your image link. first_nameMerge tag The merge tag in your email platform's own format `* Default text What to show when the detail is missing friend -
Choose the font, colour and size, and drag the text into place.
Every platform writes merge tags differently. Look yours up in the table on the Merge tags page, or search your platform's help for "merge tags" or "personalisation tags".
The IDs c, i, f and o are reserved, so you cannot use them. Use only letters, numbers and underscores in a layer ID, for example first_name or headline. The ID input also accepts hyphens and spaces, but they are awkward in URL parameters.
3. Preview it
- Select Save, give the design a name and select Save design. Preview and Share stay greyed out until the design is saved.
- Select Preview. Type a test value, such as
Sam, into the field for your layer to see the image with that text.
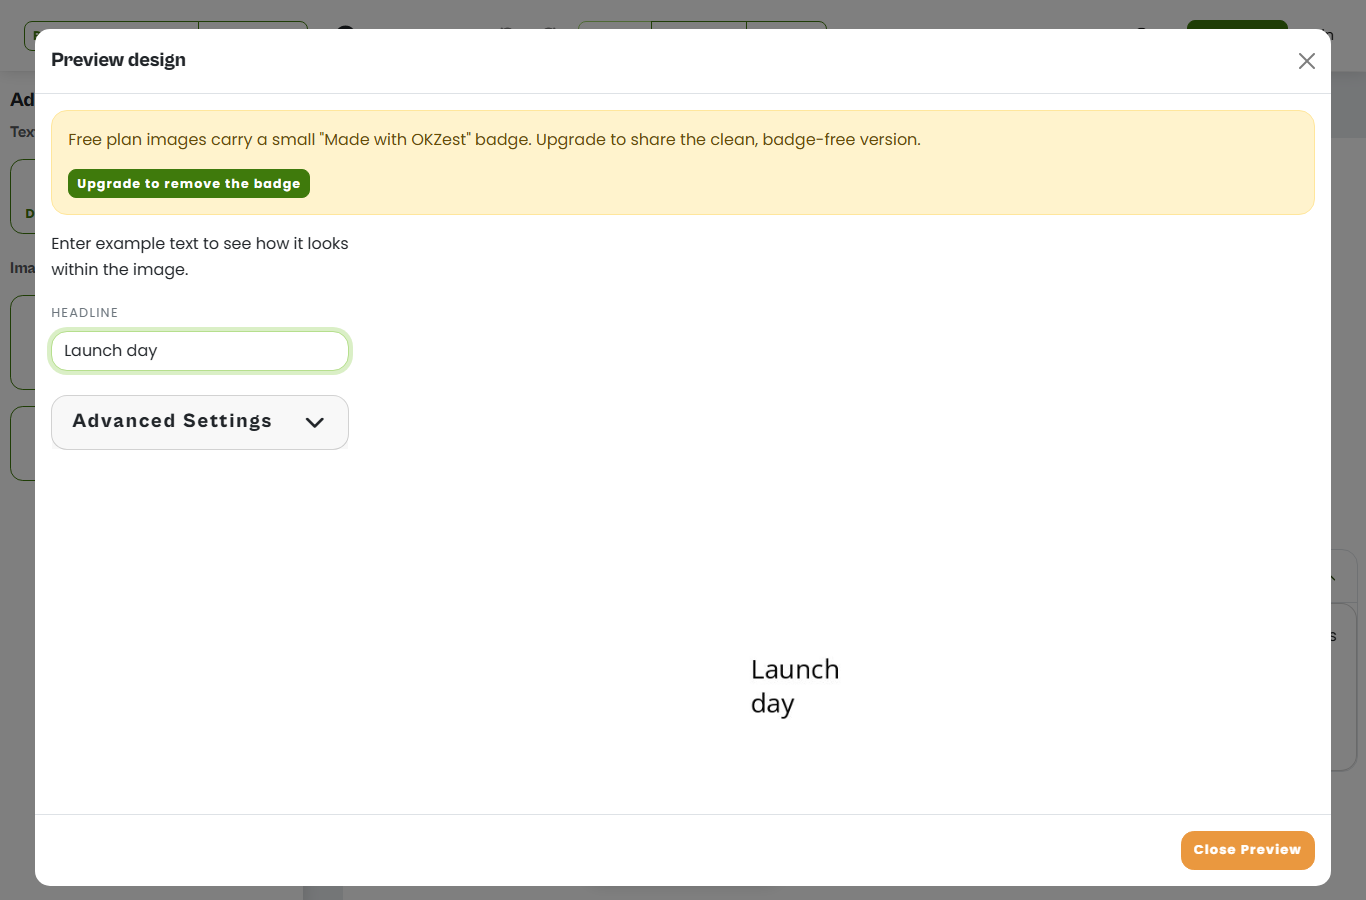
If the preview shows your default text instead of the test value, check that the ID and merge tag on the layer are what you meant to enter.
Images on the free plan carry a small "Made with OKZest" badge in the bottom right corner. Upgrading removes it. See the plans and pricing page.
4. Copy the image link
- Close the preview and select Share. The Share page opens.
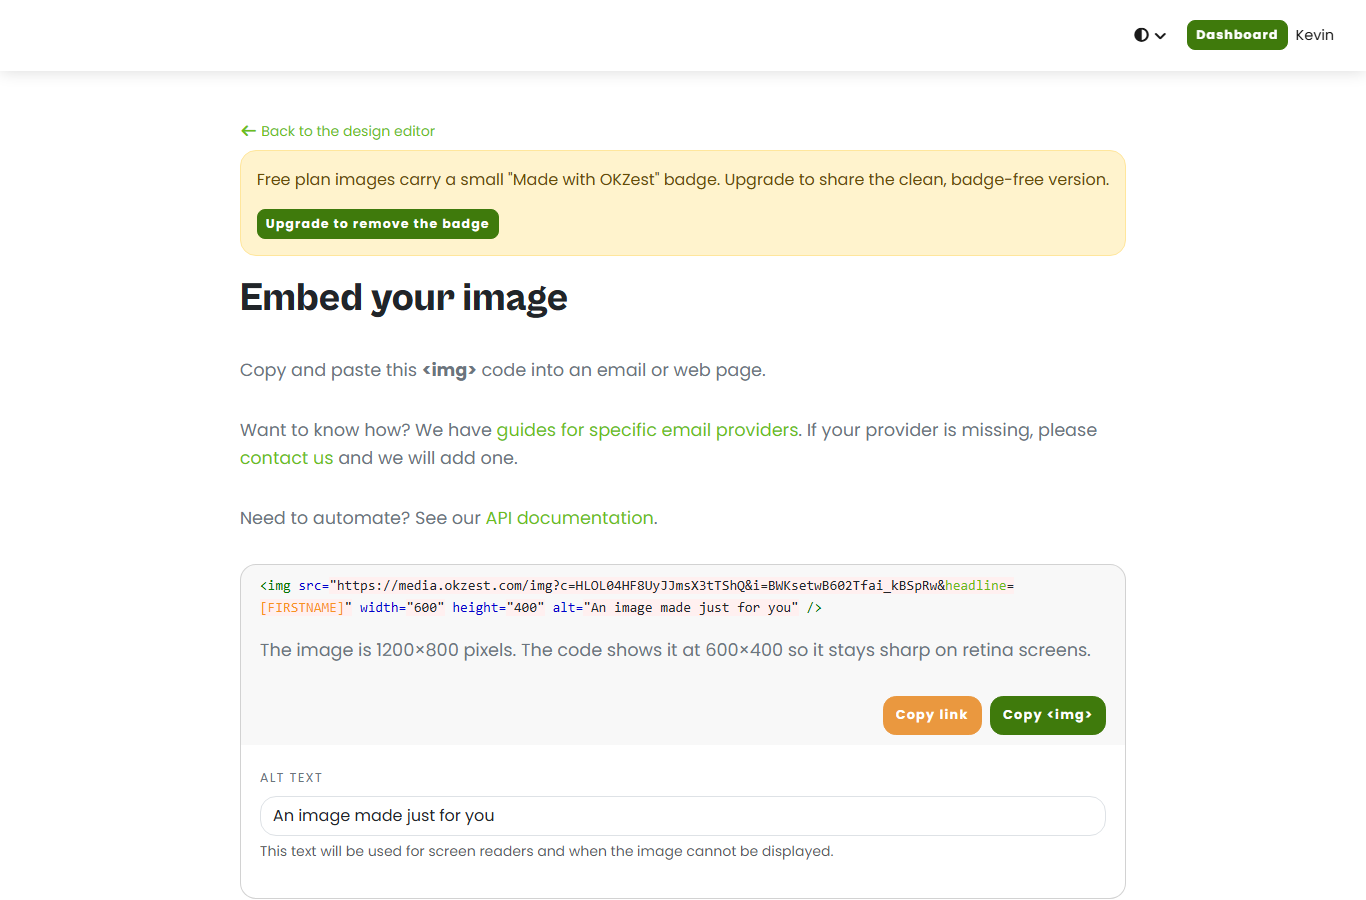
- Under Embed your image, select Copy <img> for the HTML image tag, or Copy link for the image URL.
- If a yellow Some merge tags are missing box appears, you have not set a merge tag on a layer yet. Type it into the box on this page, for example
{{firstName}}, then select Save changes. The<img>code updates and shows your merge tag in place ofREPLACEME.
The image address looks like this. The first_name part is the ID of your layer:
https://media.okzest.com/img?c=YOUR_COMPANY_ID&i=YOUR_DESIGN_ID&first_name=*|FNAME|*
Paste the URL into your browser and replace the merge tag with a real name, for example first_name=Sam. You should see the image with that name on it.
5. Paste it into your email platform
- In your email platform, add an HTML or code block to your email.
- Paste the
<img>tag you copied. In some platforms you can instead add an image block and paste the URL as the image address. - Leave the merge tag in the link as it is. Your platform replaces it when it sends.
The Share page links to guides for specific email providers, and the Share page docs list them. Beehiiv, ConvertKit and Substack do not support personalisation, so the name will not change per recipient there.
6. Send a test
- Use your platform's preview or test-send feature and send the email to yourself.
- Open the email. The image should show your own name.
You now have a working personalised image.
Your platform may not have replaced the merge tag. Check that the merge tag in OKZest is written exactly as your platform expects it, and that you used the platform's test or preview feature rather than viewing the draft directly.
What next
- Merge tags: every merge tag format, and what else you can personalise.
- Share page: platform-by-platform instructions.
- Quickstart: social image to make an image for social posts.
- Quickstart: API to generate images from your own code.
- Free images, plans and limits are on the plans and pricing page.