Quickstart: a social image with your own text
In about 5 minutes you will design an image at a social media size, change its text by editing the image link, and then share or download it. You start with a new free account and finish with an image you can post.
You need: a free OKZest account. See Register for an account.
1. Create a design at a social size
-
Log in and open your dashboard.
-
On a new account, select Create my first design. The editor opens.
-
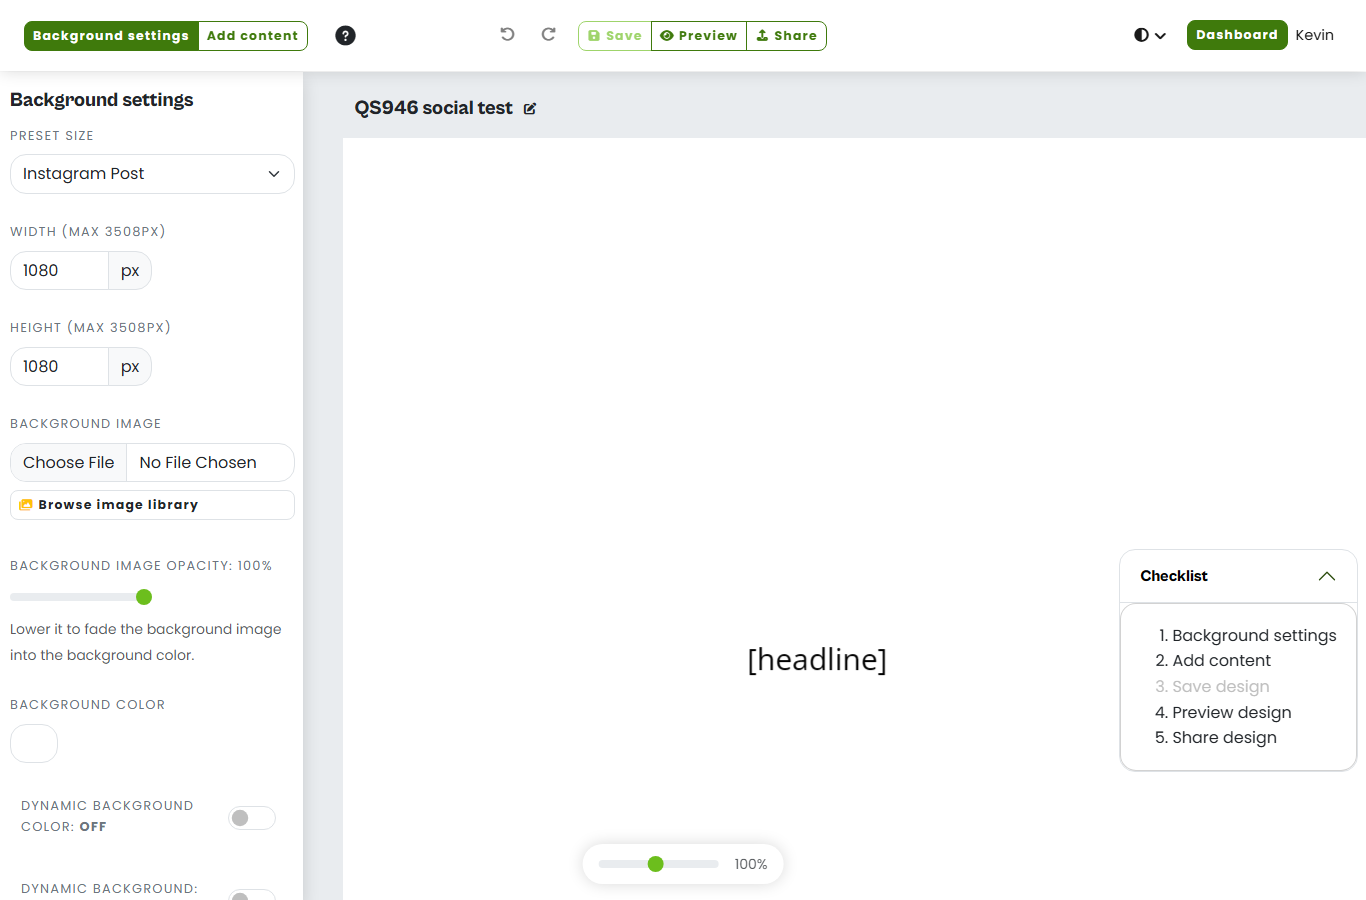
Select Background settings. Under Preset size, pick a social preset: Facebook Post, Instagram Post, LinkedIn Post, X / Twitter Card, Pinterest Pin or YouTube Thumbnail. The width and height fill in for you.
Networks change their recommended sizes from time to time. If you need a size that is not listed, choose Custom and enter the Width and Height yourself.
-
Set a Background color, or add a Background image.
2. Add text you can change
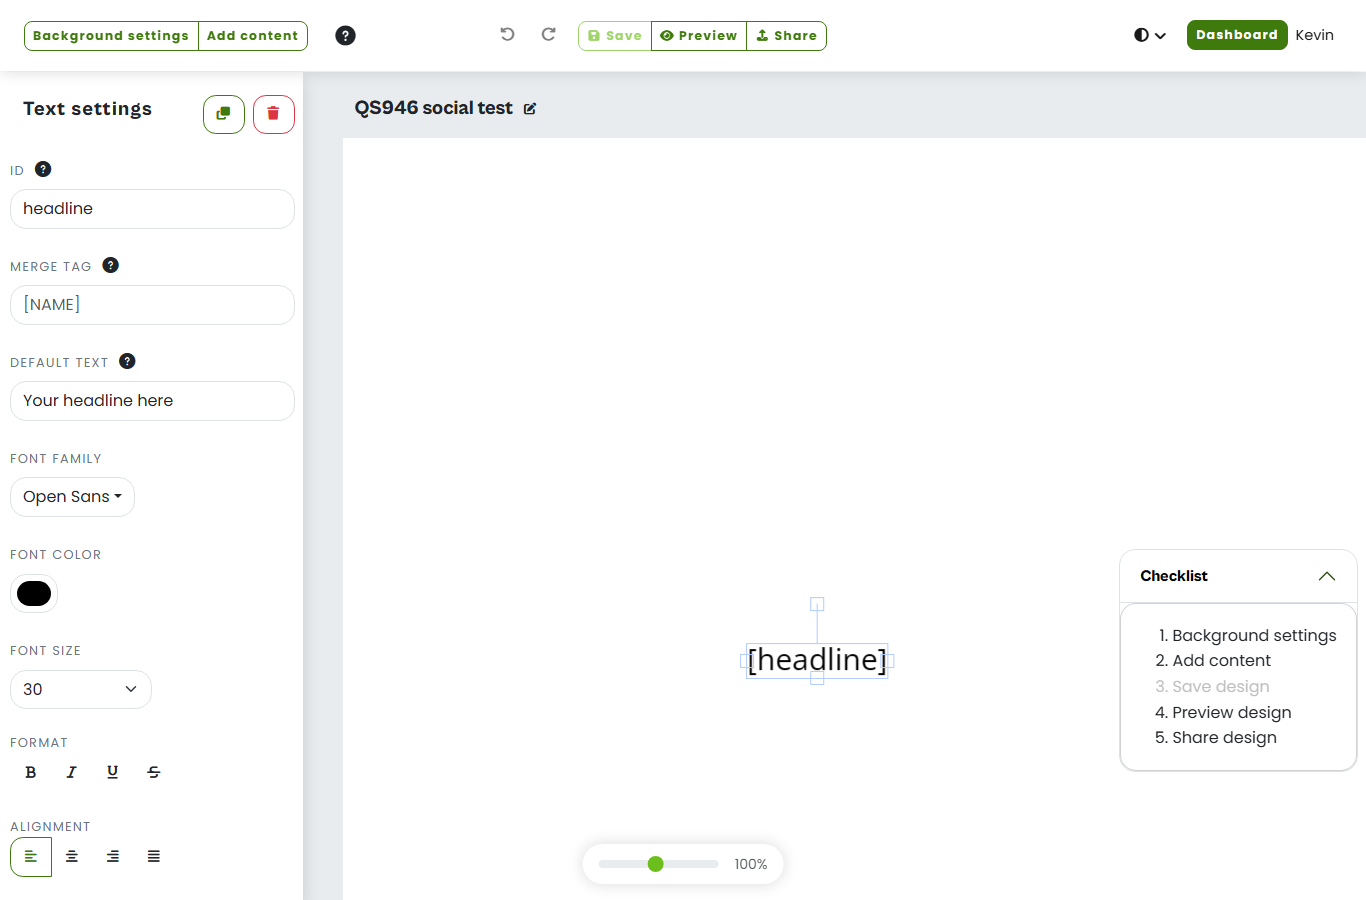
- Select Add content, then Dynamic text.
- Set the ID to
headline. The ID becomes the name of the URL parameter you use in step 4. Use only letters, numbers and underscores in a layer ID, for examplefirst_nameorheadline. The ID input also accepts hyphens and spaces, but they are awkward in URL parameters. - Set Default text, for example
Your headline here. This shows whenever no text is supplied. - Leave Merge tag empty. It is only needed when an email platform fills the text in.
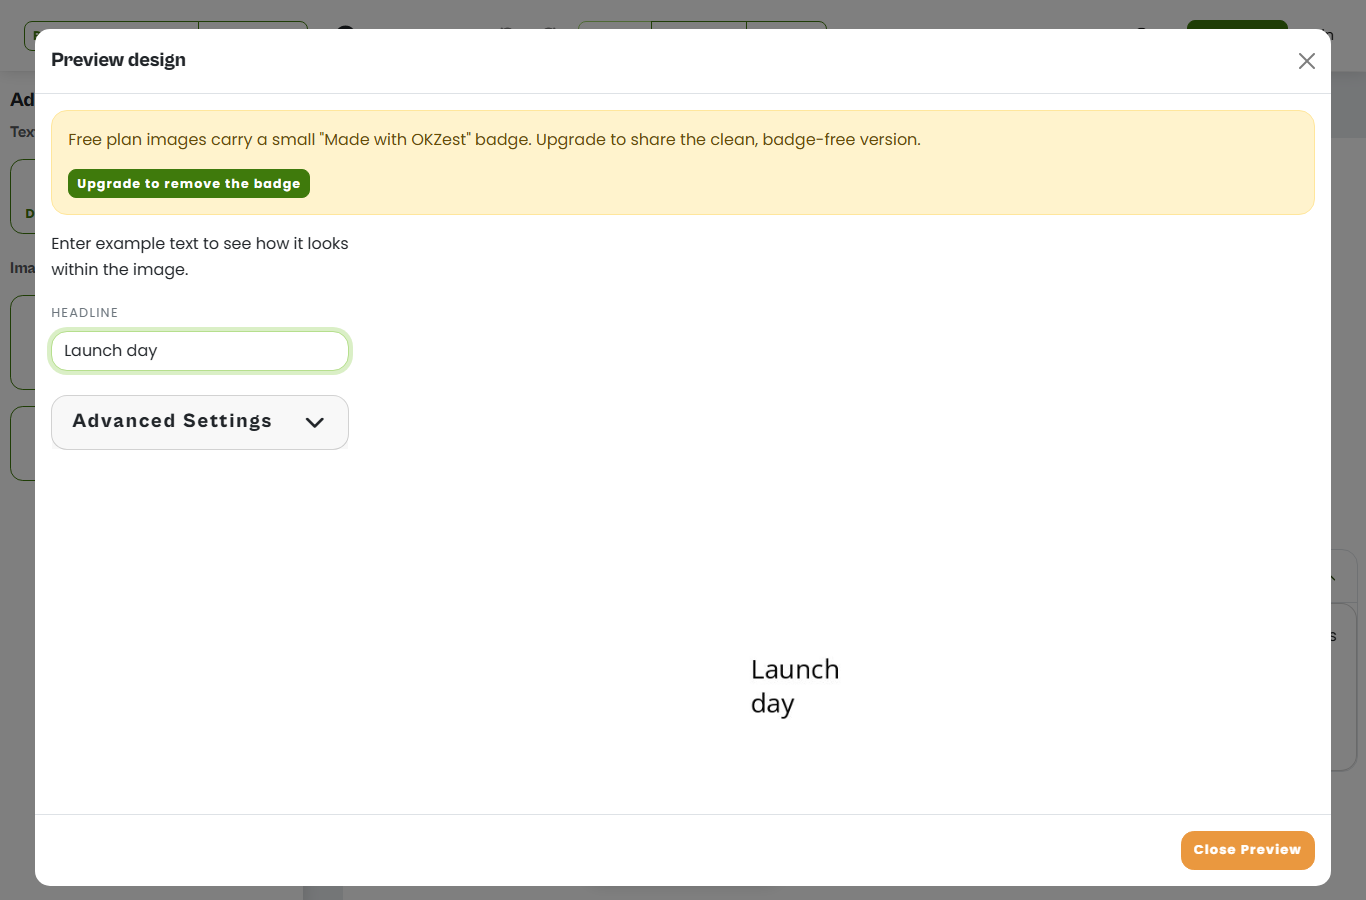
- Choose the font, size and colour, and position the text on your design. The default text box is narrow, so a longer headline such as "Launch day" can wrap onto two lines. Drag the edge of the text box to widen it, or use a shorter example.
- Optionally add Static text for anything that should never change, such as your brand name.
A text layer with an empty merge tag still takes its text from the layer ID in the image link.
The IDs c, i, f and o are reserved, so pick something else.
3. Preview it
- Select Save, give the design a name and select Save design. Preview and Share stay greyed out until you save.
- Select Preview and type a test headline into the field for your layer to check that it fits.
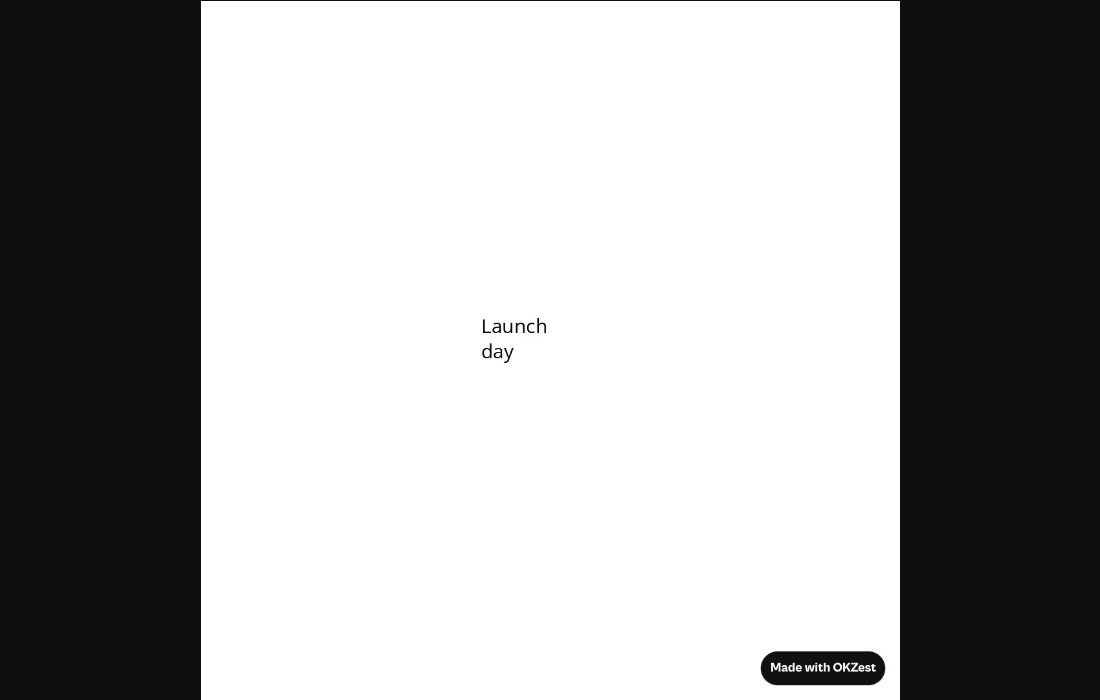
Images on the free plan carry a small "Made with OKZest" badge in the bottom right corner. See the plans and pricing page for how to remove it.
4. Get the image link and set the text
-
Close the preview and select Share. On the Share page, select Copy link under Embed your image.
-
The image address looks like this:
https://media.okzest.com/img?c=YOUR_COMPANY_ID&i=YOUR_DESIGN_ID -
To set the text, add the layer's ID as a parameter, with your text after the equals sign:
https://media.okzest.com/img?c=YOUR_COMPANY_ID&i=YOUR_DESIGN_ID&headline=Launch%20day%20is%20here -
Paste the link into your browser. You should see your image with the new headline.
Browsers turn a space in a link into %20, as in the example above. Characters such as &, # and ? have a special meaning in links and need encoding too (%26, %23, %3F). If a headline is cut off or looks wrong, this is the most likely reason.
Change the words after headline= and reload to make as many variants as you like from one design.
5. Share or download it
- Download: open the link in your browser and use your browser's save image option.
- Share or embed: use the link in a blog post, a website or a page that accepts an image address. The image is made when the link is opened.
- Social posts: most networks need an uploaded file for a post, so download the image and upload it. For link previews, point the page's
og:imagetag at the image link.
You now have a working social image.
What next
- Merge tags: more about the text and image options on a layer.
- Share page: using the link on a website.
- Quickstart: email image to personalise images per recipient.
- Quickstart: API to produce images in bulk from your own code.
- Free images, plans and limits are on the plans and pricing page.